Some of the most common questions we see and hear are:
‘Do I need to insulate my van?’ ‘How much does it cost to insulate a van?’ ‘What do I use to insulate my van?’ ‘What depth of insulation do I need?’
In this blog we’ll cover why you should insulate, what we used to insulate our van, the quantities we used, and how much we spent.
If you get bored or have a short attention span or are very short of time and want quick answer I will tell you before you read any further that the total cost of installing sound deadening, insulation, and sound proofing was approx £300! If you want to know more, read on!
But before we get into that…
- Our van is a 2008 Ford Transit, Medium Height, Medium Wheelbase (MWB) or technically known as an L2H2 Van any quantities quoted in this blog are for a van of that size. If you’re converting a van you may need more or less subject to the size of the van.
- It’s really exciting to build and create stuff but before we could even consider insulating we spent a considerable amount of time ‘making good’ – stripping, filling, treating, priming and re-painting our van. Then we sound deadened the van with the dodo dead mat hex mat http://www.dodomat.com/ at a cost of approx £50.
- We also just want to make sure anybody reading this is aware that we have no technical expertise about insulation. We have common sense and the ability to research the ass off something until we were happy to make a decision.
- Don’t forget tea…you’ll need lots of it. It’s an essential part of every van build! Our tea of choice is redbush / rooibos or tick tock caffeine free but other teas work equally as well! 🙂
Why you should insulate your van
Think about how, when and where you will use your van, thinking about these things might help you decide whether to insulate it or not. If you’re using it as a day van and plan to not sleep in it then you might not need/want insulation. If you plan to sleep or stay in it then a thin skin of steel panel is waterproof but it’s also a conductor. So if the outside temperature is hot, the inside of the van will be hot. If it’s cold outside then guess what…the van will be too. We’re writing this from the UK and plan to mainly use our van in the UK and the temperatures here rarely go below -2 degrees centigrade in the depths of winter or above 30 degrees centigrade in summer. Insulation keeps you warm when it’s cold and cool when it’s hot. If you are running a heating system in your van such as Truma, Webasto, Erberspacher or a Chinese diesel heater you want the space you’re heating to be as efficient as possible and retain that heat. It’s also cheaper and better for the environment.
When we did our research we came across ‘R’ values and thermal conductivity. At first quite daunting and a bit ‘head-hurty’ but in reality fairly straight forward. Thermal conductivity – the higher the number the easier it conducts heat. So if you if insulated your van with steel it would be hotter in warmer temperatures and colder in cooler temperatures than if you used wool for example. You are basically looking for a material that has a low thermal conductivity rating – the lower the better.
R value is described (as per the extract from wikipedia below)
In the context of building and construction,[4] the R-value is a measured of how well a two-dimensional barrier, such as a layer of insulation, a window or a complete wall or ceiling, resists the conductive[5] flow of heat. R-value is the temperature difference per unit of heat flux needed to sustain one unit of heat flux between the warmer surface and colder surface of a barrier under steady-state conditions.
The R-value is the building industry term[4] for thermal resistance “per unit area.”[6] It is sometimes denoted RSI-value if the SI (metric) units are used.[7] An R-value can be given for a material (e.g. for polyethylene foam), or for an assembly of materials (e.g. a wall or a window). In the case of materials, it is often expressed in terms of R-value per unit length (e.g. per inch or metre of thickness). R-values are additive for layers of materials, and the higher the R-value the better the performance.
How do you turn a big metal cold hard box into something warm, snuggly and cosy?
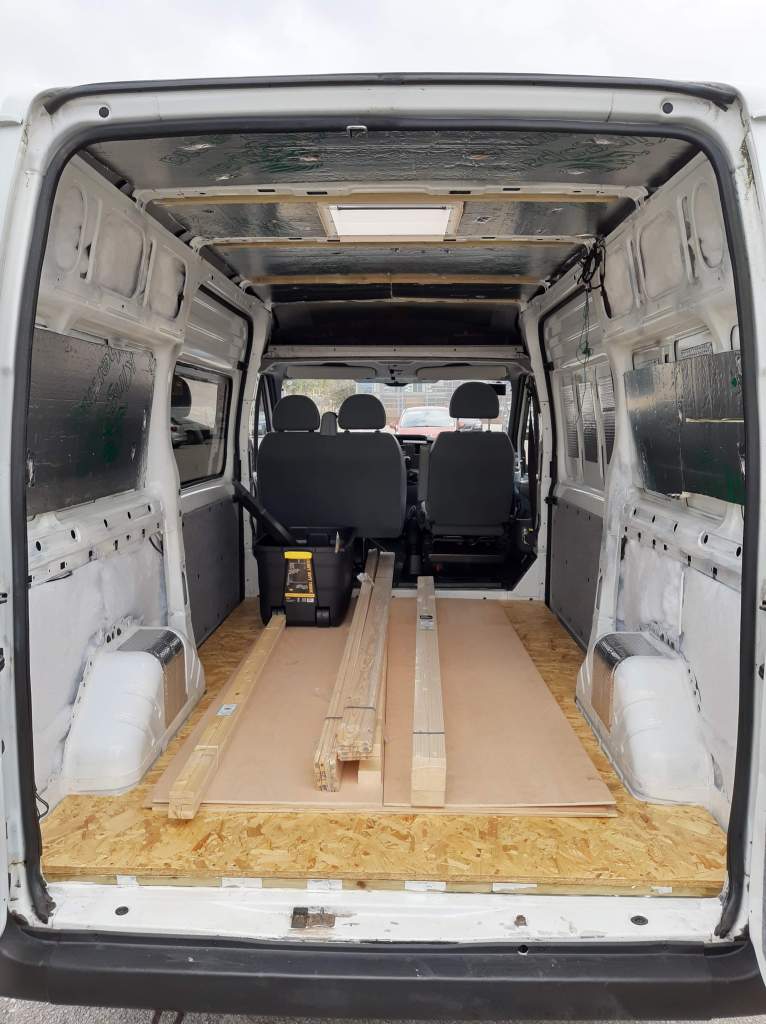
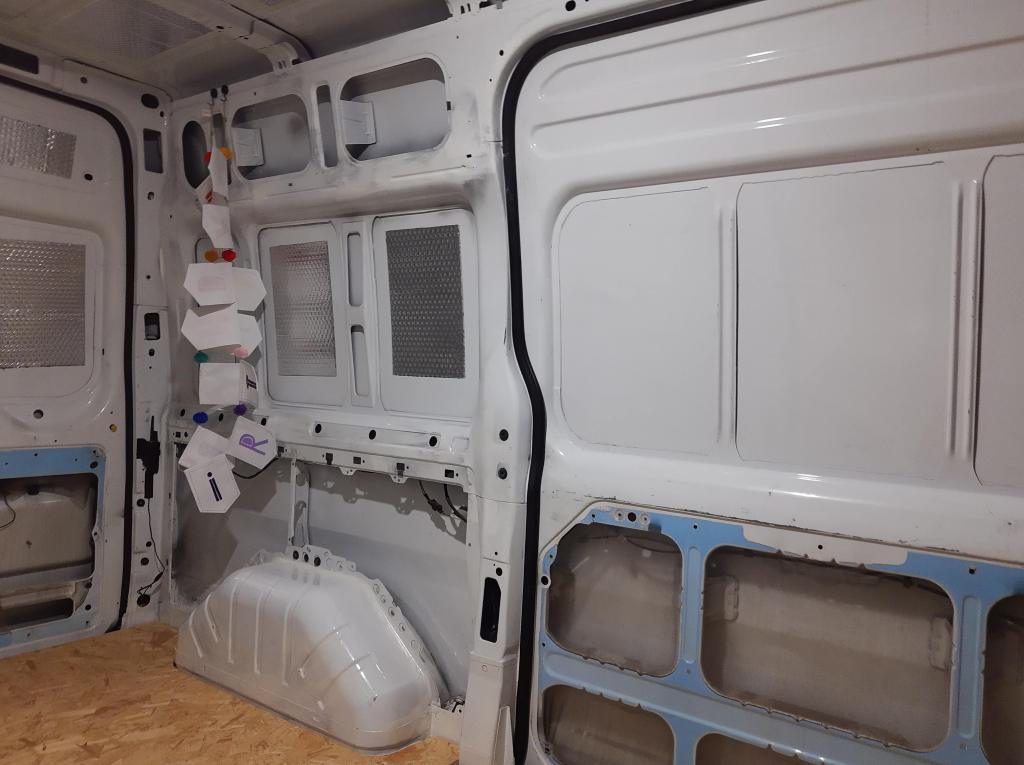
Your van is basically a big metal box, and if you’ve cut holes in it and put windows in then it’s a metal box with glass in it. A lot of windows used are the bonded single glazed type offering little in terms of insulation. There are many double glazed versions available too. If you remove your bulkhead (the divider between the front and back of the van) like we did, then this also means more noise and even less insulation due to exposing the rear part of your van to the windscreen and glass in the drivers cab area.

Your panel or base van in its raw panel van state is noisy, cold and full of hard steel surfaces. By insulating it you are removing the cold and hard steel with warm and snuggly (and cool when needed). You can minimise noise with sound deadening and sound proofing.
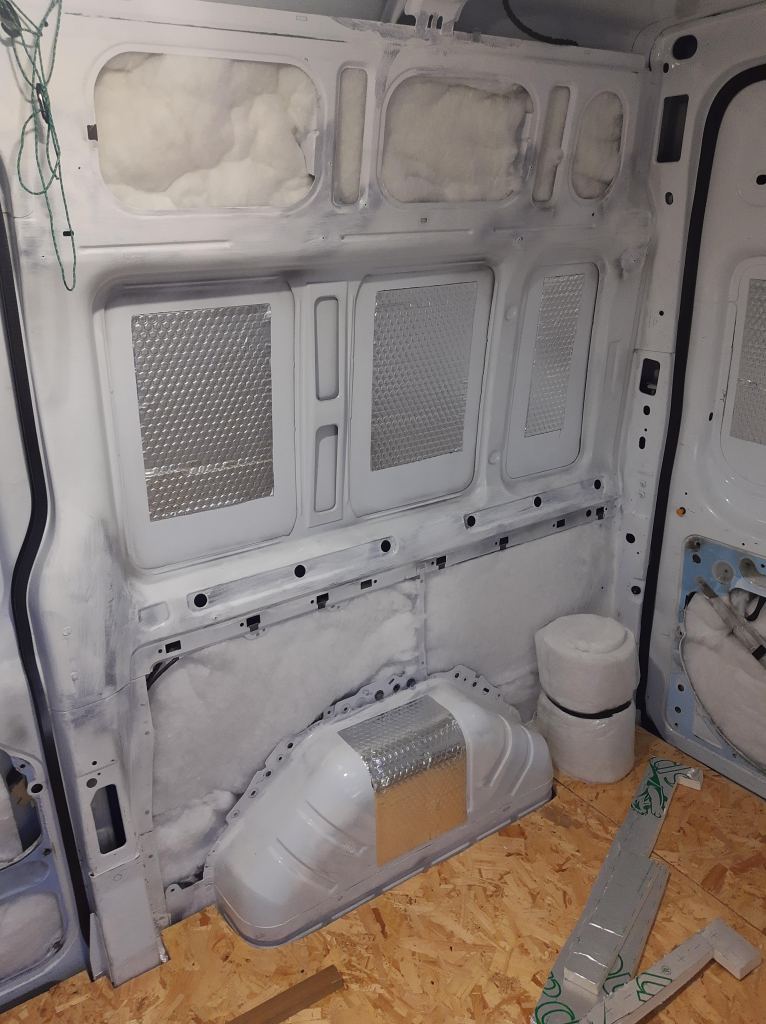
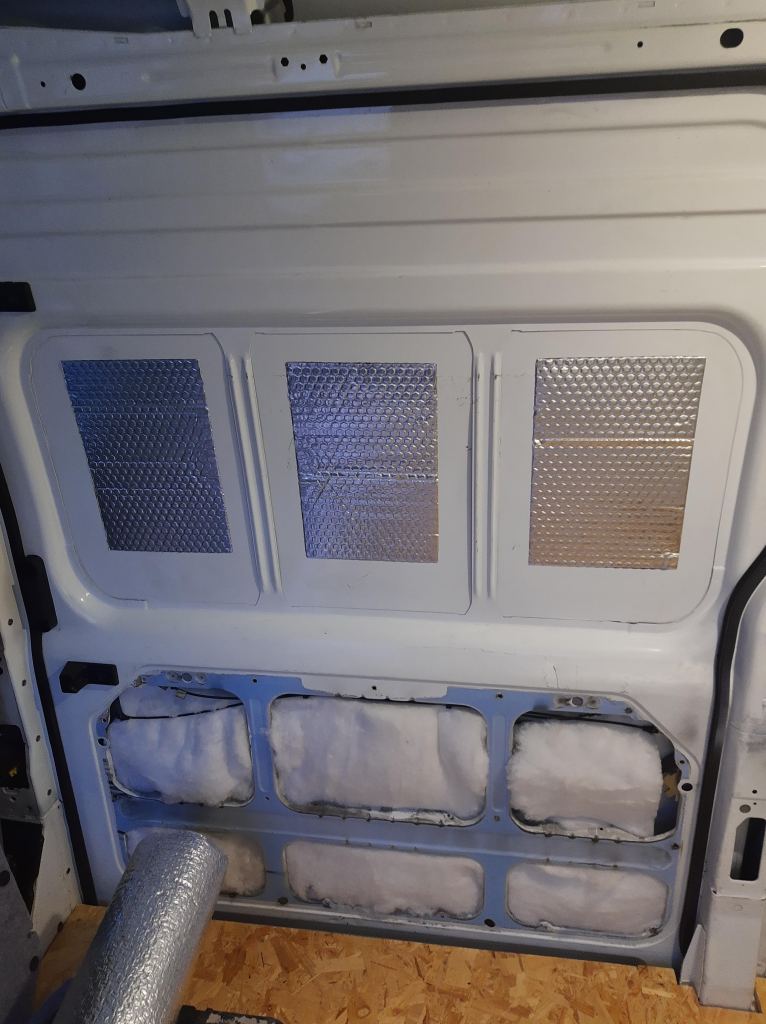
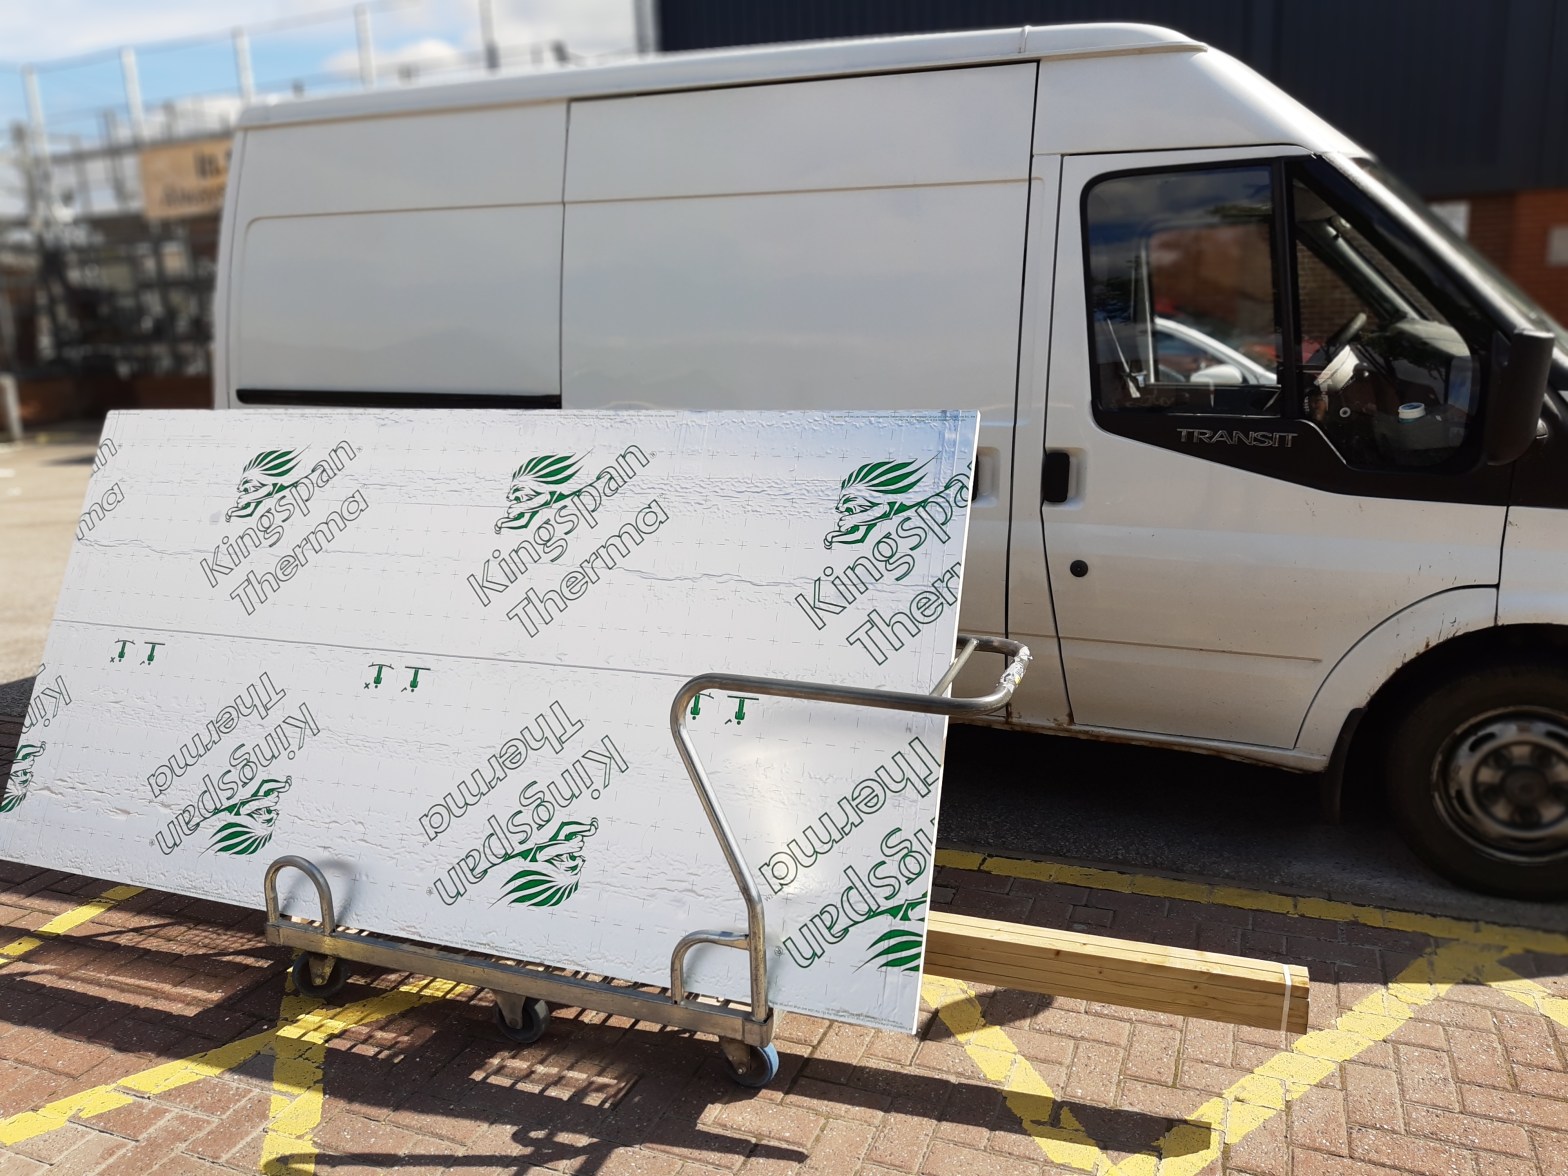
It makes sense to insulate the floor, walls, back doors and ceiling of your van and as heat rises it makes sense to put the biggest stuff in the ceiling – that was the advice we were given. A lot of people recommend 25mm for the floor and 50mm for the ceiling. We went with 25mm for both due to two factors. The metal ribs on the ceiling of the van were 40mm and we didn’t want to lose 10mm more head height to due using 50mm insulation mainly because Peter is 6ft 2inches and our van is a medium height van. If it was a high top then we would have used 50mm and gone for maximum depth. We chose PIR board for our van due to its low thermal conductivity. A lot of people were using Celotex which is a brand of PIR board as far as I am aware. Kingspan and Celotex are two examples of PIR board that are commonly used in insulation. They are readily available from most DIY shops. We used Kingspan and purchased ours from Wickes. (www.wickes.co.uk) These PIR boards are great for large flat surfaces, they have a low thermal conductivity value of 0.022 W/mK , are super lightweight and can easily be cut to size with a craft or bread knife as long as you don’t mind the screeching sound!!

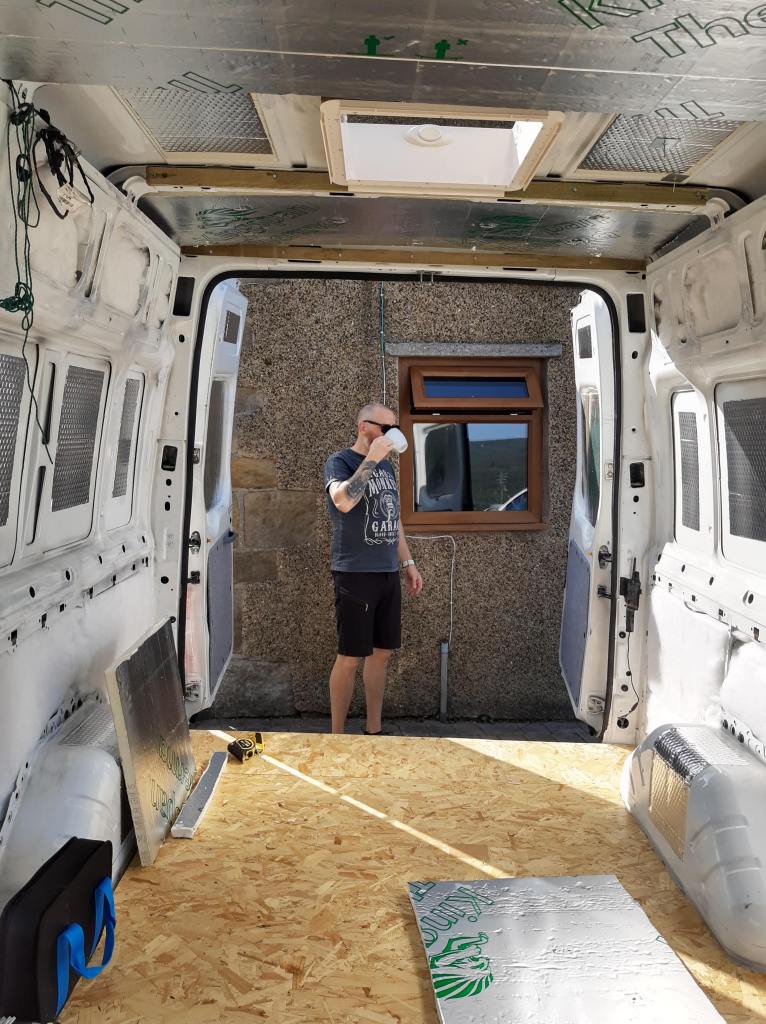
You’ll probably notice from the picture of the inside of our van above that not all of the gaps inside a van are flat and square etc. For these areas you can use any number of flexible insulation products that are available widely. We’ve seen people use anything from rockwool, spray foam to sheeps wool, we went with Diall recycled plastic bottle insulation available from B&Q (www.diy.com) for a few main reasons. It’s R value was pretty good (2.25m²K/W), it’s an eco-friendly alternative to glass wool insulation, it’s way easier to work with and completely itch free; it was readily available, it was good value for money – just £16 per 6 metre roll x 100mm depth and it had good fire resistance. We set fire to it and checked! It did burn eventually but it took time to catch fire which would give us time to put the fire out should that happen.

So how much did we spend insulating our van?
This was our shopping list along with quantities, prices and where we purchased from. Just remember our van is 2008 Ford Transit, Medium Height, Medium Wheelbase (MWB) or technically known as L2H2 so you may need more or less subject to your van and what size it is.
Dodo Dead Mat, Hex Mat Sound Deadening Sheets: £49.99 mentioned earlier in this article.
Kingspan 25mm (Wickes) x 1200 x 2400 x 2 £27 each = £54
Stick pins (Amazon) 50mm £25
Double sided tape (B&Q) £10
Aluminium Foil Tape (Wickes) x 2 rolls £6 each = £12
Diall Recycled Plastic Bottle Insulation (B&Q) x 2 rolls £16 each = £32
Thermal foil bubble wrap roll (Wickes) x 2 £17 each = £34
Builders polythene sheet (Wickes) £7
Total cost of materials = £167
Sound Proofing – Close Cell Foam
In addition to the costs above and before we clad the van and installed the walls or stretch carpet we also used a self adhesive black close cell foam which is widely available. We bought three rolls of 1m x 3m at a cost of approx £12 per roll (£36 in total) and this was enough to cover the areas of the van that we needed. We used this in a number of areas in the van before carpeting or cladding to provide some sound proofing and, softer more cushioned and warmer surfaces. Some of the areas we used it were:
where the bulkhead had been removed
in the drivers side sliding door where a future window will be fitted
in the shelf above the cab
over the horizontal pillars above the sliding doors (we have sliding doors on each side)
over the wheel arches to reduce road noise
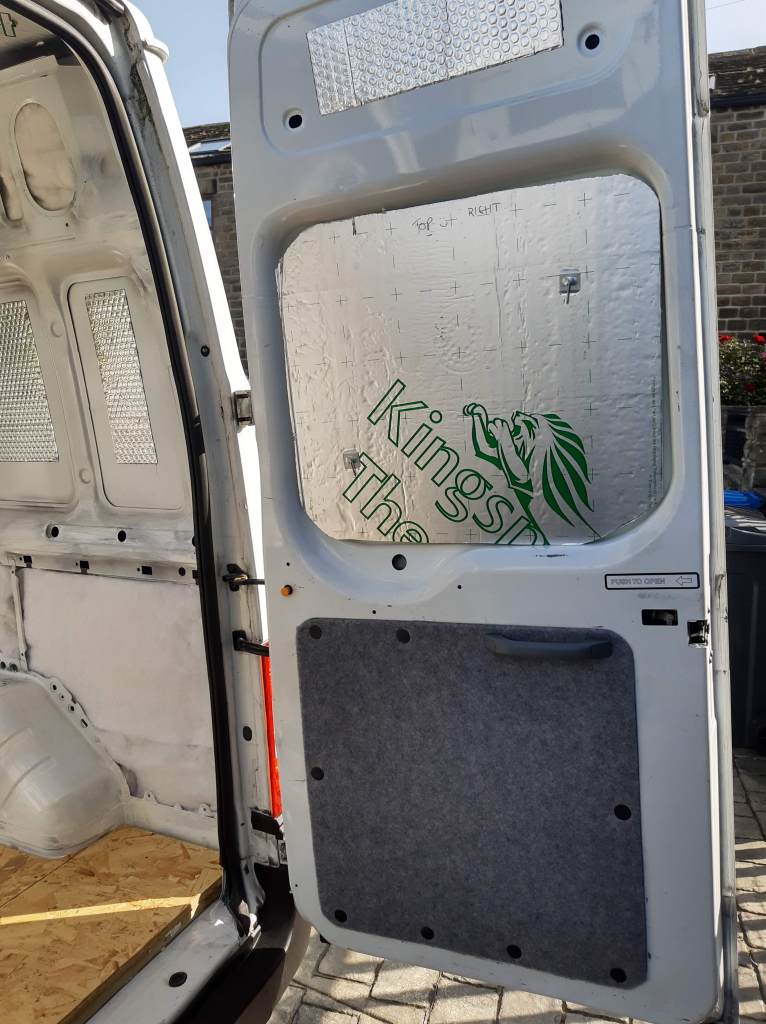
the upper part of the rear doors over the top of insulation that we’d put in underneath
We did not use the close cell foam in the gaps above the wheel arches or the rear panels above the wheel arches.

In summary…
Insulating your van is exciting – it feels like progress and like you are building and creating something
R Value and thermal conductivity is important – look out for them when you’re shopping
There’s a variety of products to suit all budgets. You get what you pay for and something is better nothing.
After stripping, making good and sound deadening it’s one of the first things we did and that means if you get it wrong or change your mind it is probably going to be a major hassle to strip everything then redo it. Do your research, take your time, don’t be afraid to ask for help and do it as best you can.